Introduction: Wiring a light switch may seem daunting at first, but with the right tools, knowledge, and safety precautions, it can be a straightforward task. In this guide, we will walk you through the step-by-step process of wiring a light switch safely.
Step 1: Gather the Necessary Tools and Materials
Before diving into the process of wiring a light switch, it is essential to have the right tools and materials within reach to ensure a smooth and successful installation. Here’s a detailed elaboration of each item you will need:
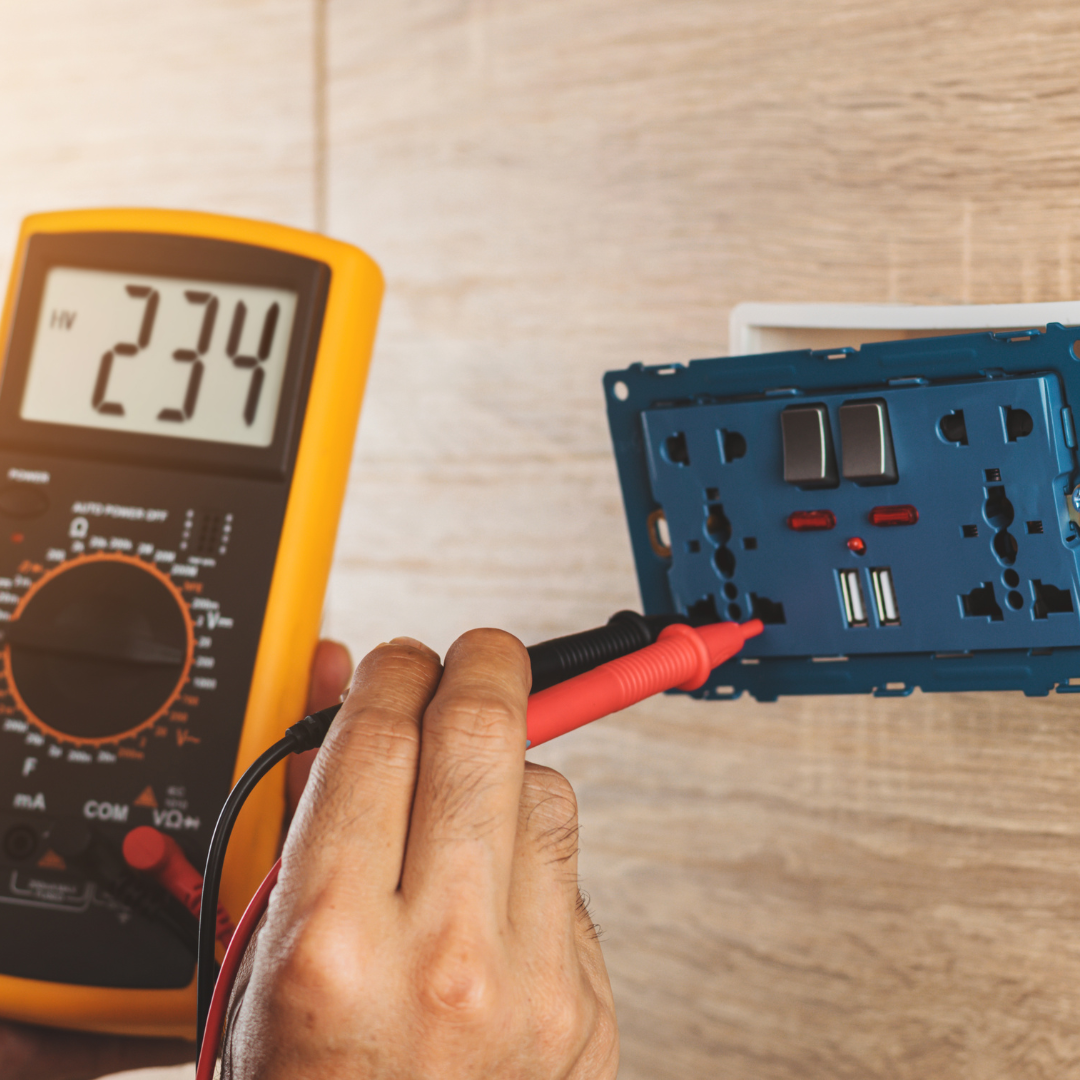
- Voltage Tester: A voltage tester is a crucial tool for checking the presence of electrical current in wires or devices. It helps you determine if a circuit is live or not before you start working on it, ensuring your safety during the process.
- Screwdriver: A screwdriver is a basic but essential tool for loosening and tightening screws, which you will often encounter when installing or replacing a light switch. A flat-head or Phillips-head screwdriver, depending on the screws used, will be needed for this task.
- Wire Stripper: A wire stripper is used to remove insulation from the ends of electrical wires, exposing the conductor for proper connection. It allows you to strip the right amount of insulation without damaging the wire, ensuring secure and reliable connections.
- Electrical Tape: Electrical tape is used to insulate electrical connections and secure them in place. It helps prevent exposed wires from coming into contact with each other or other conductive materials, reducing the risk of short circuits or electrical hazards.
- Light Switch: The light switch itself is, of course, a key component in this project. Ensure you have the appropriate type of light switch for your specific installation, whether it’s a single-pole switch, three-way switch, dimmer switch, or any other variant based on your needs.
- Electrical Wires: You will need electrical wires to connect the light switch to the power source and the light fixture. Make sure you have the correct gauge and type of wires for the job, following local electrical codes and regulations to ensure safety and compliance.
- Also, read this: https://infobilli.com/beginners-guide-painting-ikea-furniture-home/

Step 2: Safety First Safety should always be your top priority when working with electricity. Before starting any work, be sure to switch off the power supply at the circuit breaker to avoid any electrical shock. Additionally, always use insulated tools and wear protective gear such as gloves and safety goggles.
Step 3: Identify the Wiring Setup Before you remove the existing switch, it’s crucial to identify the wiring setup. Typically, you will find three wires: black (hot wire), white (neutral wire), and green or bare copper (ground wire). Make a note of how these wires are connected to the switch.
Step 4: Remove the Old Light Switch Using a screwdriver, carefully unscrew the old light switch from the wall. Once the screws are removed, gently pull the switch away from the wall and expose the wiring behind it.
Step 5: Disconnect the Wires Carefully disconnect the wires from the old switch by loosening the terminal screws. Remember which wire corresponds to the hot, neutral, and ground connections.
Step 6: Connect the New Light Switch Take your new light switch and connect the wires to the corresponding terminals. Typically, the black wire connects to the gold or black screw (hot terminal), the white wire connects to the silver or light-colored screw (neutral terminal), and the green or bare copper wire connects to the green screw (ground terminal).
Step 7: Secure the Light Switch After connecting the wires, carefully tuck them back into the electrical box and secure the light switch in place using the screws provided. Ensure the switch is flush against the wall and straight.
Step 8: Test the Light Switch Once the light switch is securely installed, switch on the power at the circuit breaker and test the switch to ensure it is working correctly. Use a voltage tester to check if there is electricity flowing through the switch.
Step 9: Safety Checks After testing the light switch, perform a final safety check to ensure all connections are secure, and there are no exposed wires. If everything looks good, turn off the power and close the electrical box cover.
Conclusion: Wiring a light switch can be a rewarding DIY project if done correctly and safely. By following these step-by-step instructions and safety precautions, you can successfully wire a light switch in your home. However, if you are unsure or uncomfortable working with electricity, it’s always best to hire a professional electrician to ensure the job is done safely.


